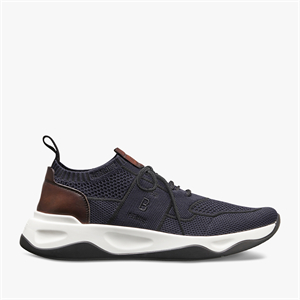
Customizing your sneakers is a fun way to add a personal touch to your footwear and make a fashion statement. Here are some DIY sneaker customization tips for men:
- Gather Your Supplies:
- Sneakers: Choose a pair of sneakers that you’re comfortable customizing.
- Paints: Acrylic paints work well on canvas sneakers, while leather paints are better for leather shoes.
- Brushes: Get various brush sizes for different design elements.
- Masking Tape: Use it to create clean lines and protect areas you don’t want to paint.
- Fabric Markers: These are great for adding fine details.
- Stencils: If you’re not confident in your freehand painting skills, stencils can help create precise designs.
- Sealant: Apply a clear sealant to protect your design once it’s finished.
- Optional: Rhinestones, fabric patches, or other embellishments.
- Plan Your Design:
- Sketch your design ideas on paper before starting. This will help you visualize the final result.
- Consider color schemes, patterns, and themes that match your style.
- Prepare Your Sneakers:
- Clean your sneakers thoroughly with a damp cloth or shoe cleaner to remove dirt and grime.
- Remove the shoelaces to avoid getting paint on them.
- Painting Techniques:
- If you’re using multiple colors, start with the lightest colors first and work your way to the darkest ones.
- Apply thin, even layers of paint to prevent cracking.
- Experiment with different brush strokes, sponging, splattering, or even drip techniques for unique effects.
- Use masking tape to create clean lines and sharp edges.
- Allow each layer to dry completely before applying the next one.
- Adding Details:
- Use fabric markers for fine details like lettering, small designs, or outlining.
- Stencils can help create intricate patterns or shapes with precision.
- Embellish Your Sneakers:
- Consider adding rhinestones, studs, or fabric patches for extra flair.
- Use fabric glue or a hot glue gun to attach these embellishments securely.
- Seal Your Design:
- Once your design is complete and dry, apply a clear sealant to protect it from wear and tear.
- Follow the manufacturer’s instructions for the specific sealant you choose.
- Reassemble Your Sneakers:
- Once the sealant is dry, rethread the shoelaces and put your sneakers back together.
- Wear and Showcase:
- Rock your custom sneakers proudly and show off your unique style.
- Practice and Patience:
- Customization may take some practice to get the hang of, so don’t be discouraged if your first attempt isn’t perfect.
- Take your time and enjoy the process.
Remember, there are countless customization options, from hand-painting to airbrushing and even experimenting with different materials like fabric or leather patches. Let your creativity run wild, and your custom sneakers will become a reflection of your unique style.


